Applying Stamps
This tutorial aims to document a workflow for applying stamps onto materials inside Blender in a highly controllable and yet easy to set-up way.
This tutorial will be using the Blender Addon, Ravage. I highly recommend getting the addon if you do not have already, yes it does cost money but I think it is a good investment. The addon does everything I used to need Substance Painter to do and Substance Painter was Adobe-Subscriptionware, so replacing it has saved me a small fortune. Ravage have their own tutorials on basic usage of the program published on YouTube, so I won't cover that on my site.
To be clear - Everything I am about to show you could also be achieved using the node editor but I think demonstrating this workflow in Ravage is far more intuitive and easy to follow and set up.
The basic idea
What we're going to do is take our texture stamps we made in GrabDoc, and rather than use the UV to map them onto our object, we will instead use Object Mapping and use an object (an Empty) to control the position of our stamp.
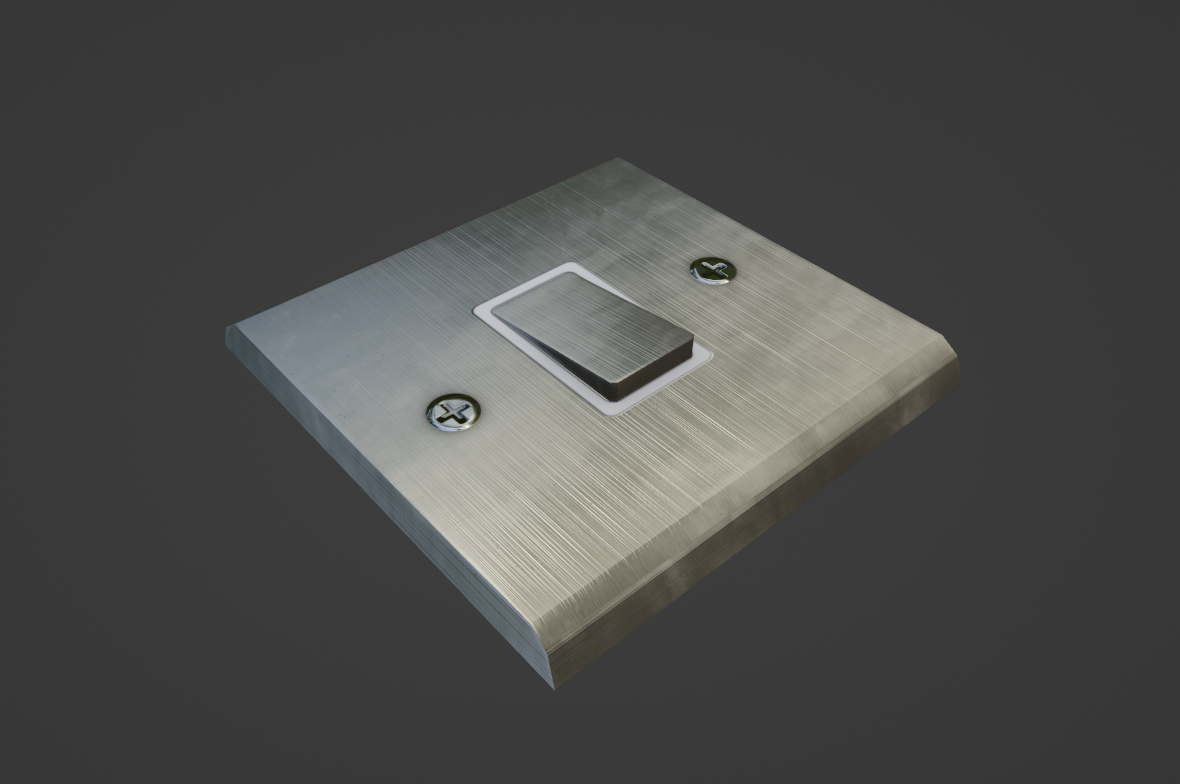
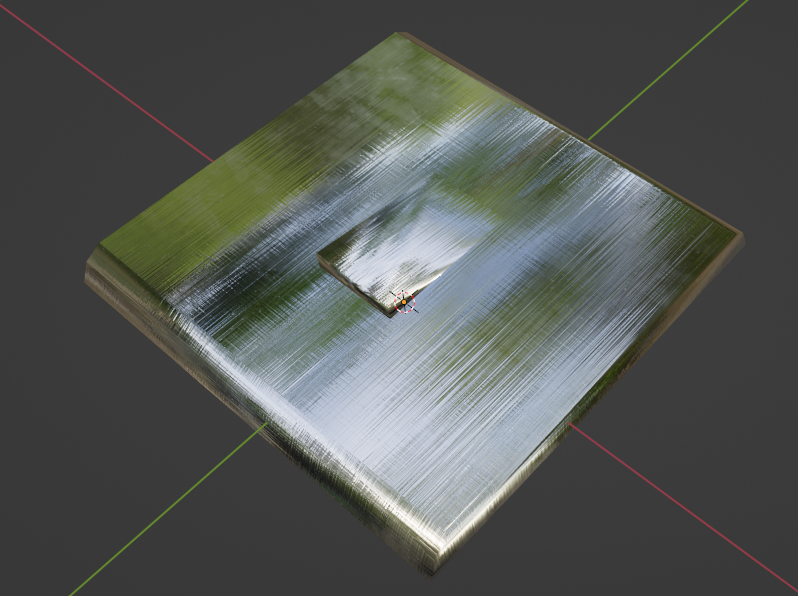
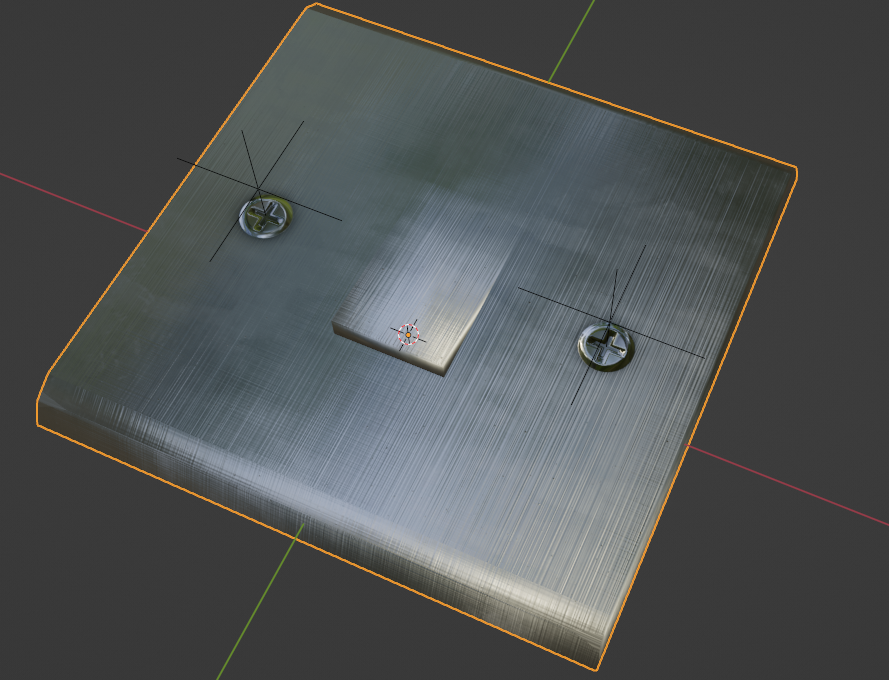
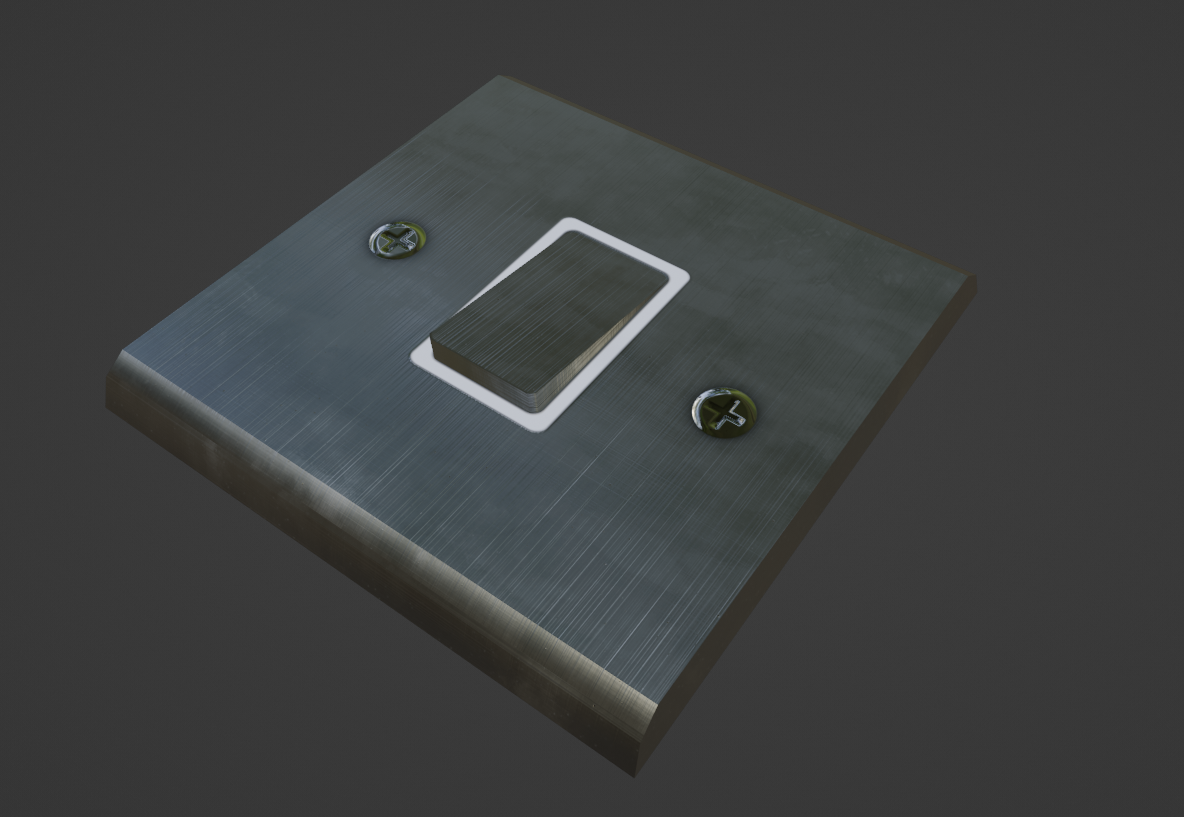
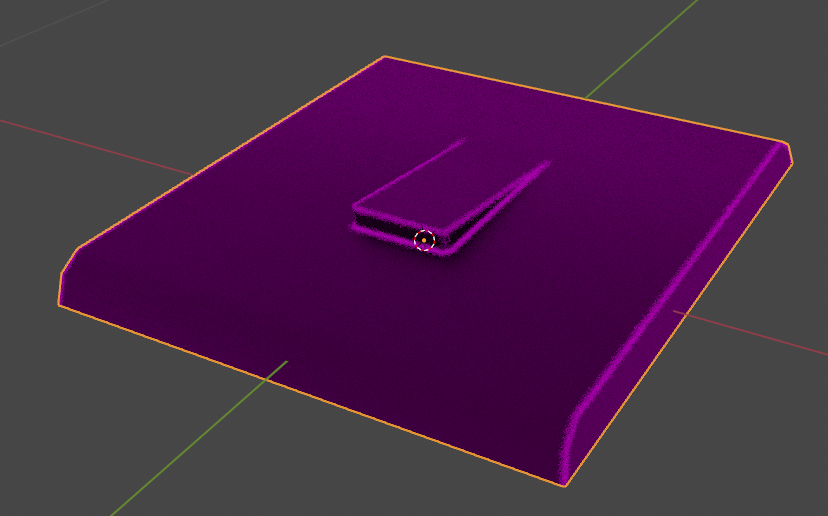
To demonstrate this workflow, lets texture something that has multiple materials - Some plastic and some metal. This lightswitch will do!
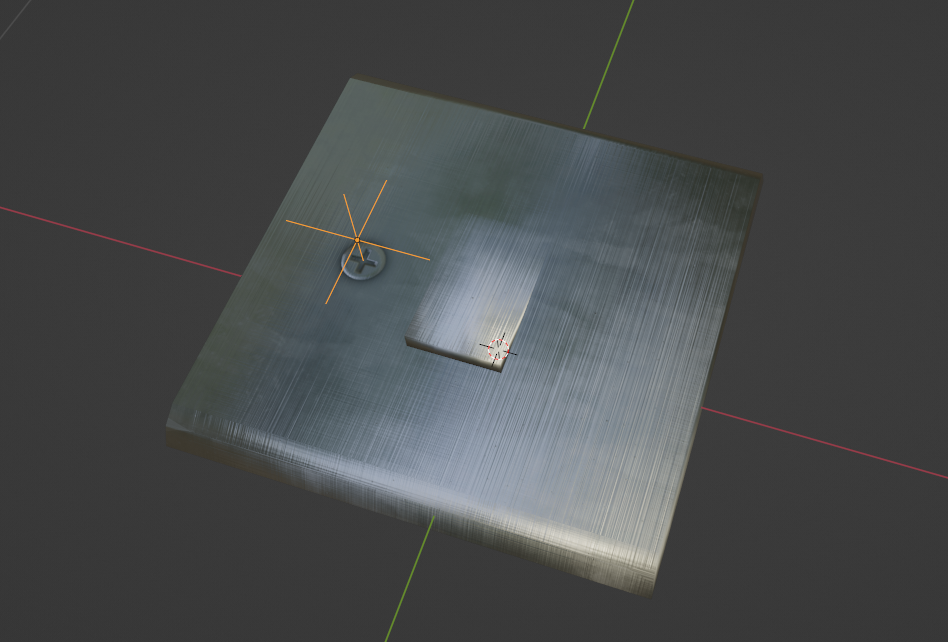
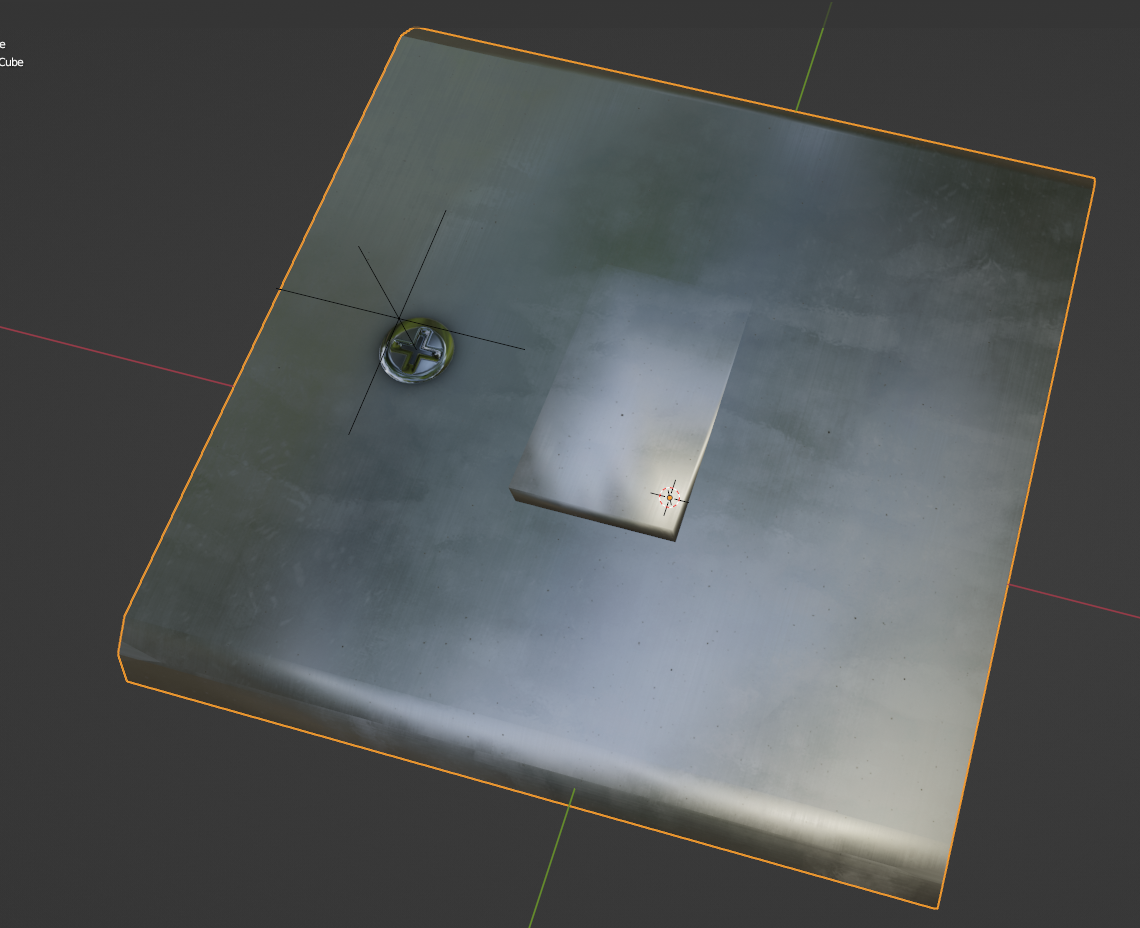
A model to texture
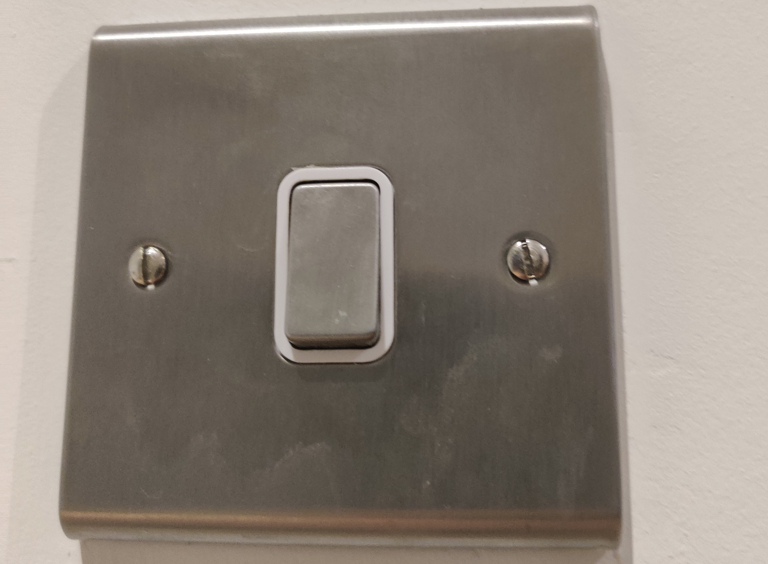
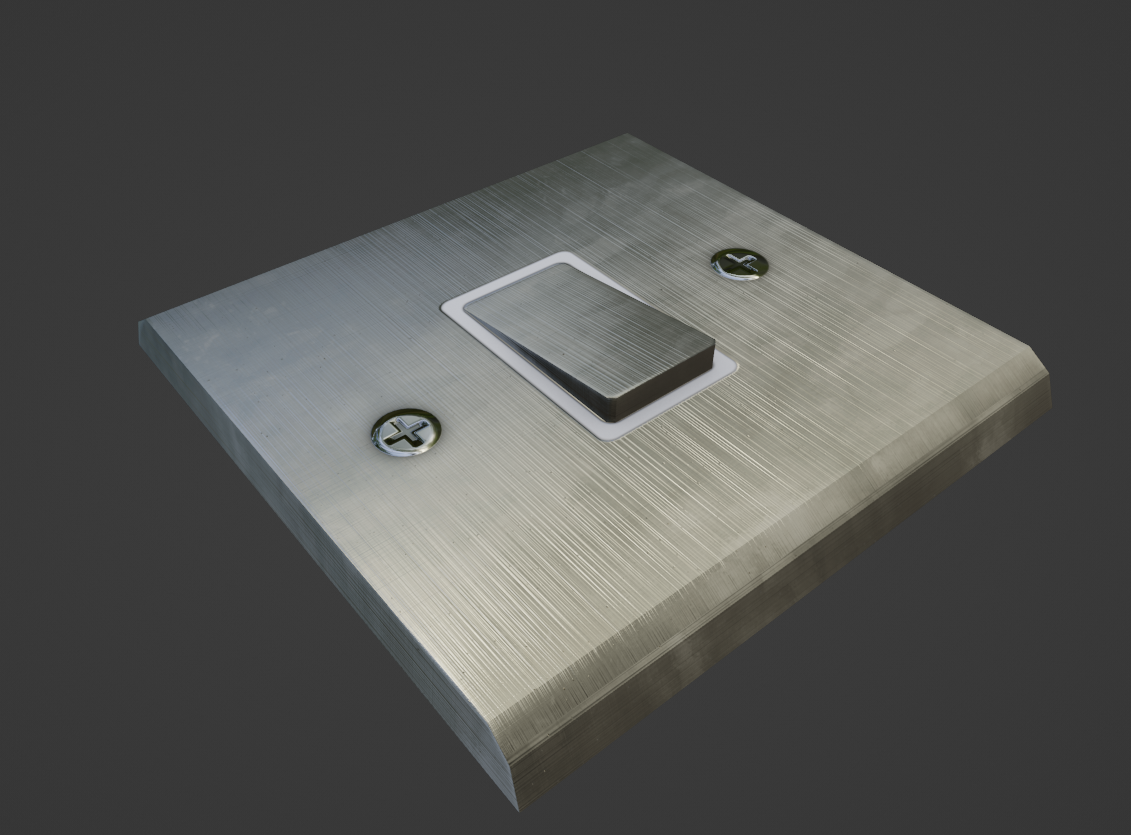
This is what we're going to try to replicate, using Stamps.
In terms of 3D details, It has some white plastic around the switch that create a slight bump, and the screws protrude from the switch itself. The details are only small and we wouldn't really want to 3D model these details as it's a waste of geometry, the camera in a game would never get so close as for these details to be appreciated and if we modelled every tiny detail like this we would lag out our game.
In terms of PBR Materials, the main plate is made of brushed metal and the screws are stainless steel. The white area is some kind of plastic. I'll find myself some appropriate PBR textures for free on CGBookcase. A paid professional site you might use is Poliigon.
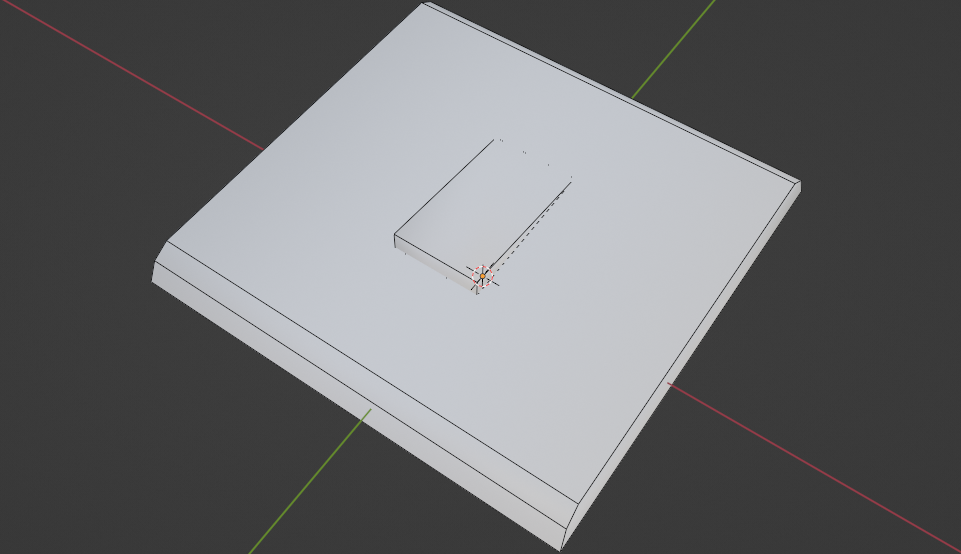
I've gone ahead and made a nice low-poly model that we can use to texture using stamps.
Before we apply our stamps
Lets set up a quick base PBR layer in Ravage. If you already know how to do this, please feel free to skip ahead.
I've downloaded Brushed Iron 01 from CGBookcase and I'm going to set it up in a new layer in Ravage. It came with a bunch of textures:
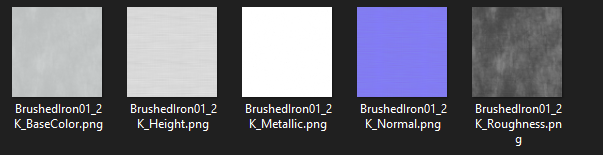
You could use any material you wanted, but I thought this material suited the base plate of my light switch.
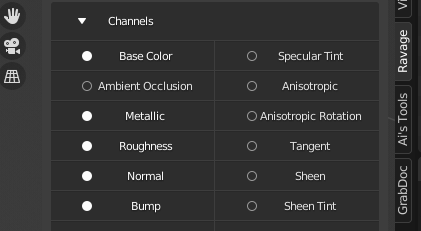
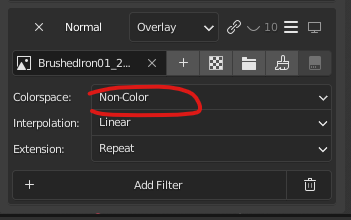
In Ravage, I've created a new layer and named it 'Base Metal'. I've enabled the Color, Bump, Metallic, Normal and Roughness Channel as per the images I got and assigned these textures to each one. I've also remembered to set the Normal texture to Non-Colored Data otherwise it will shade funny!
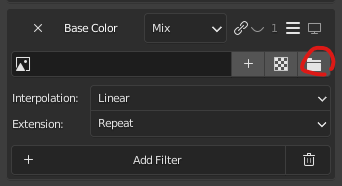
OK so we've set up a material but I'm not quite happy with how it looks and I'm going to make a few adjustments just to demonstrate some things. I'd like the metal to be a bit darker and less reflective.
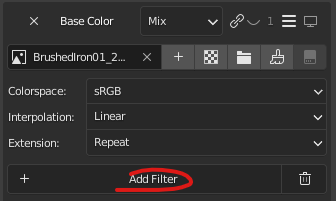
So to do that, I add a Filter to my base color and choose Brightness/Contrast, and I'm just going to dial back the brightness a little. I'll do the same for Roughness, except I'll increase the brightness on roughness to make it more 'rough' and less reflective as a result.
Applying a Stamp
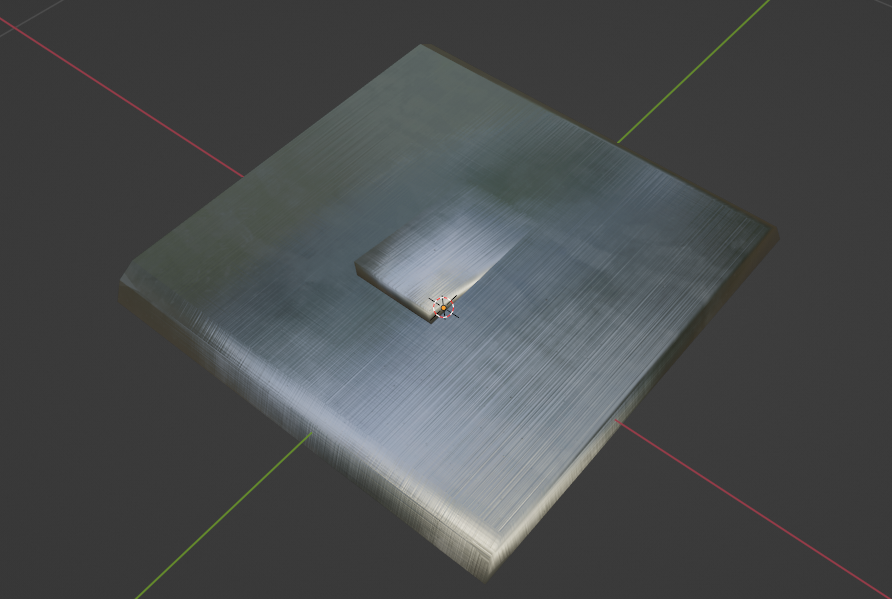
Lets start with the screws, we made ourselves a few textures for those in the previous tutorial.
I'm going ahead and creating a new layer, named 'Screw Normals/AO' this time with just the Normal and Ambient Occlusion Channels enabled.
I want this texture to follow an object around that we can use to control where it appears on the switch. So I create a new Empty object
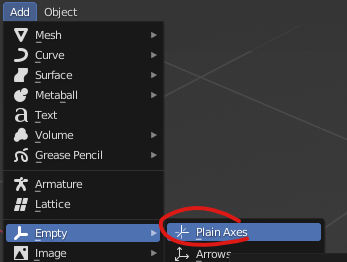
Selecting my Switch I set the Mapping to Object and select my Empty

Now that we're using object mapping, we can see that if we move around the Empty, or scale it, it also moves our stamp around!
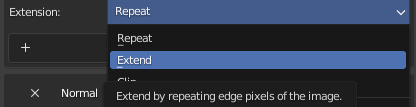
One thing you might notice is that the texture is repeating. We can easily fix this by setting both of our channels Extension setting from Repeat to Extend - This takes the outer most pixel and Extends it outwards instead of repeating the image.
Masking Details
I also want this screw to be stainless steel. I could set this up on the same layer but unfortunately if I were to add a mask to just the inside of the screw head, it would also mask out the ambient occlusion around the outside of the screw, so instead I'm going to create a new layer
On my layer I enable the Metallic and Roughness Channels.
We could go fetch a Stainless Steel PBR Image Set but I think that's overkill for such a tiny detail, so instead I'll just use Values. For each channel, I change them from using Images to Value using the Hamburger button next to each channel.

Stainless Steel is a fairly shiny material, so I give it a high metallic value and a low roughness
Next, lets set up our mask to mask the stainless steel to just our screw
We head over to the Masks tab:

And click Add Mask. We'll choose Image Mask since we made an image mask before for our screw head.
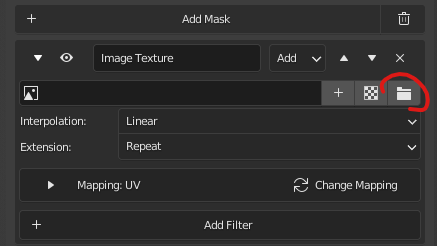
Now we add our screw head mask image we made before. Underneath we have the Mapping setting. Like before, we set this to Object Mapping and select our Empty. Remembering also to set the Transforms to 0.5 if you did that before.
Now we've masked our effect to just the screw!

I'm gonna go ahead and do the other screw by duplicating the layers and creating another Empty
Now you know the basics!
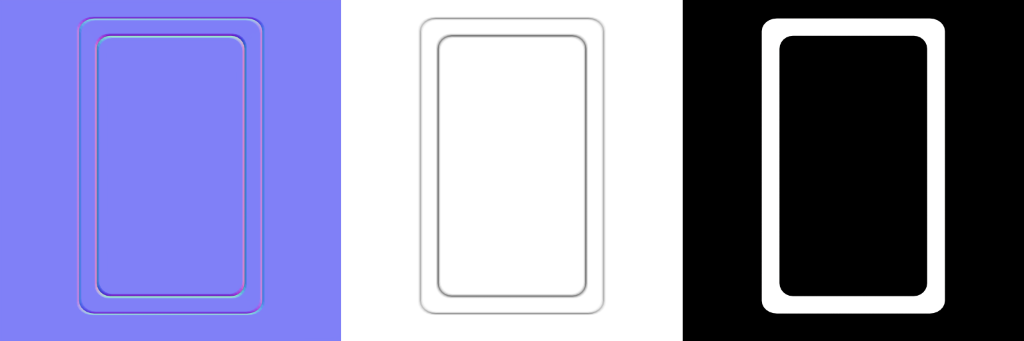
Here I go ahead and make another set of images for a stamp in GrabDoc the same way I explained in the previous tutorial:-
I set them up much the same way I set up the screws, do a bit of filddling and voila~
Hopefully by now you're getting an idea of how these stamps are done!
Previewing Channels
Sometimes you need to look and see the data on each channel and check for errors. This can be done on the Master Channel Preview Panel
Support Maps
Whilst we're texturing this switch, I want to show how support maps are done!
Support maps are extra maps we bake from our 3D model. The ones I like to use the most are:
- Bevel Normals - Great for giving rounded corner appearance without adding more geometry
- Ambient Occlusion - Nice for adding more shading detail
To make support maps, we need our model UV mapped so UV map the model first.
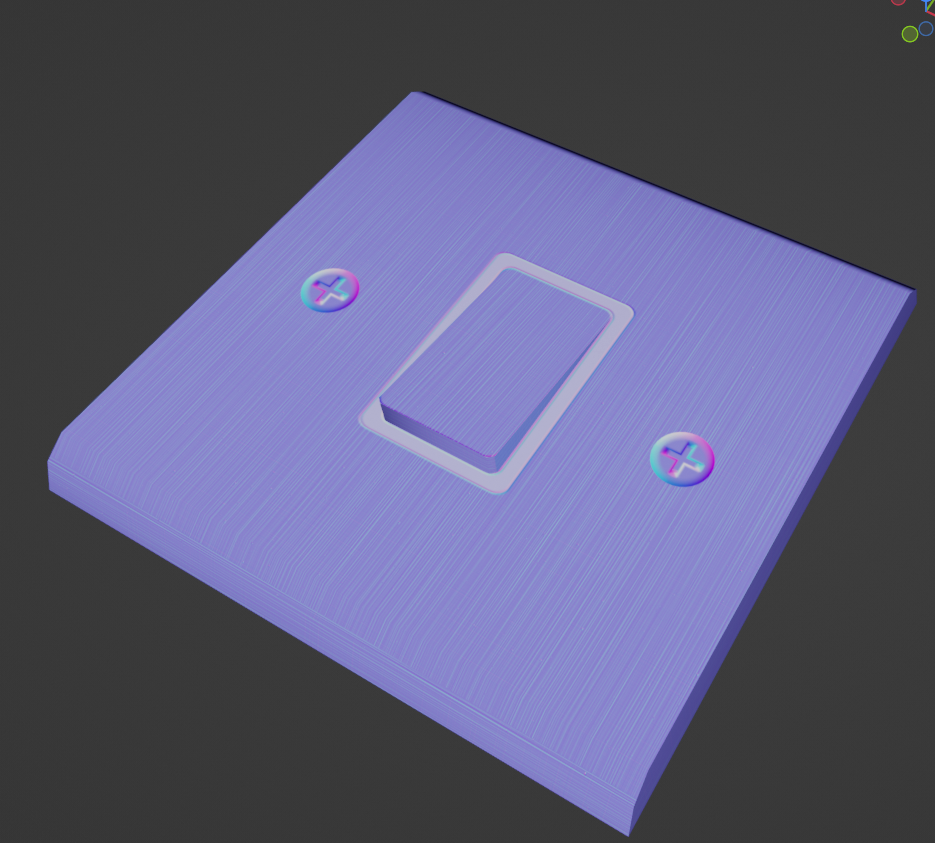
Lets look at Bevel Normals

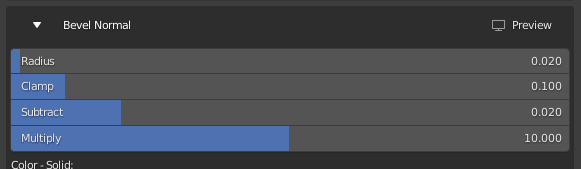
If we click Preview, we can see a colored overlay on our model showing the width of the bevel effect. This won't be the actual color of our baked normals.
Once I'm happy, I bake my bevel normals
Also useful to bake from that same tab is Ambient Occlusion!
I save off both of these images. I create a new layer called support maps with the AO/Normal Channels on and use the images. AO gets set to multiply to avoid destroying the data underneath it.
Fin
That's it for this tutorial! I know it's on the messier side but I hope you will still find it useful!