Creating Texture Stamps
Part one of a two part tutorial on Creating and Applying Texture Stamps
Follow this tutorial to learn how to create Stamps in Blender for applying onto a material - This tutorial is also useful for learning to create Trim Sheets
What's a Stamp?
In Texturing, a Stamp is an image, or set of images that we use to apply small details to our model. Think of things like panels, screws, stickers, buttons, grooves, ridges that should be on our model. These are things that we need to be able to apply to our model independently of the base material.
Download GrabDoc
GrabDoc is a free Blender Addon that we will use to help us bake our stamps.
- Buy it for $1 to support the Creator on Blender Market
- Alternately, download it for free from their GitHub Repository
Once you have downloaded GrabDoc, enable the plugin in Blender.
Setup the Scene
Our scene is the area where the GrabDoc camera will render our texture details.
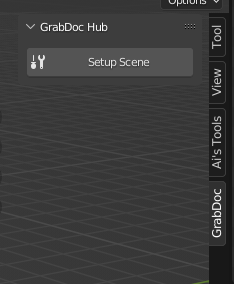
From the right-hand panel, select GrabDoc, and then click Setup Scene
Set Resolution
From the Export Maps Panel, set the resolution - This will be the size of our texture stamp.
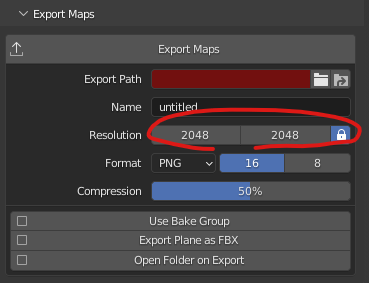
Since a stamp is just used to make up texture details that will later be baked into a final texture, don't worry too much about texture size. The raw stamp texture itself won't be going into our game.
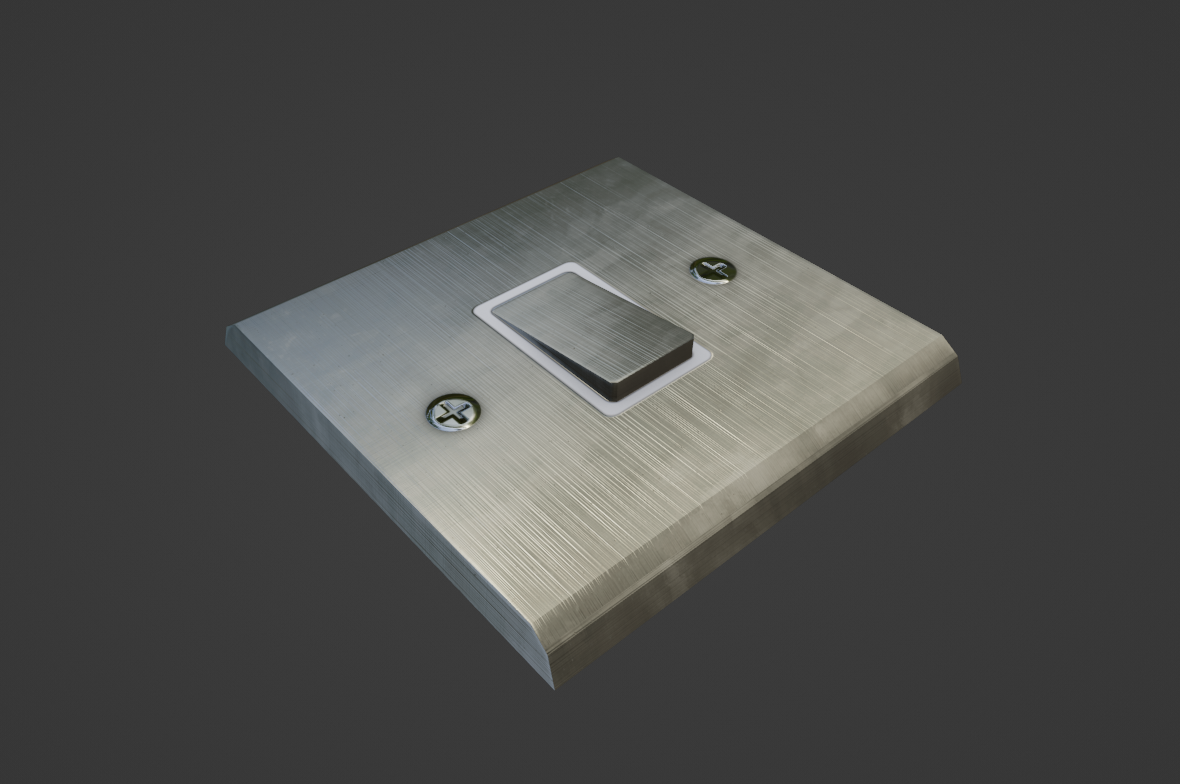
Model Some Details
We need some 3D detail to use to generate our texture detail that will make up our stamp. So lets model some detail for our stamp!

Notice that I didn't model the whole screw, since we're making a texture stamp, I just need the detail the camera sees when looking top-down.
Preview the Details
Firstly, open the Preview Panel in GrabDoc
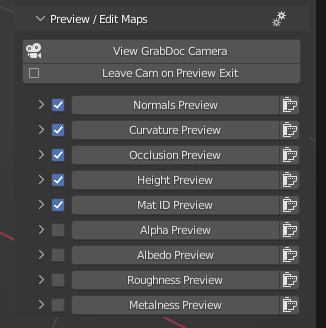
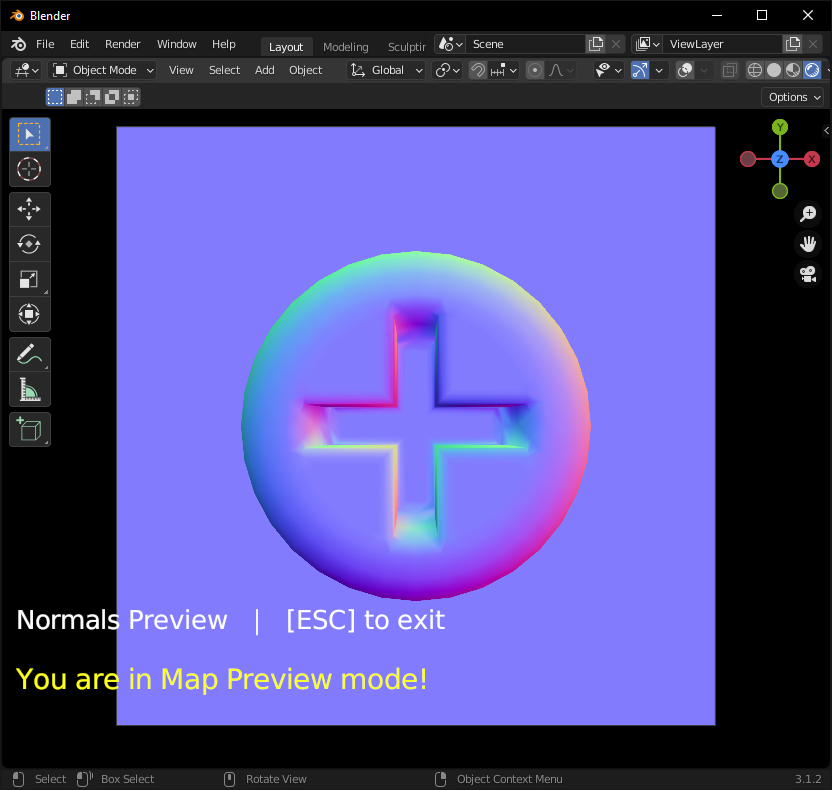
Lets try Previewing our Normals. Click Normals Preview
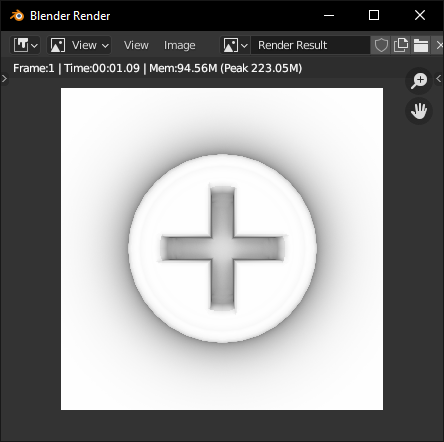
Render and Save the Details
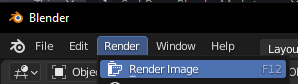
Looks good? Lets Render that out to an Image. Go to Render > Render Image
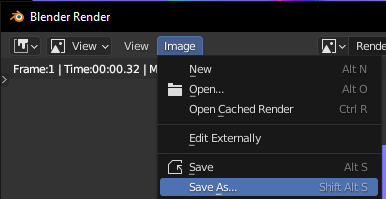
A new window will open, showing us our Render. From here click Image > Save As to save our image to disk.
Rinse and Repeat
Whilst we're at it, lets also Render out Ambient Occlusion.
We can close our Blender Render window and press Escape to exit the Normals Preview. Now just preview Occlusion and Render/Save the Image as you did before.
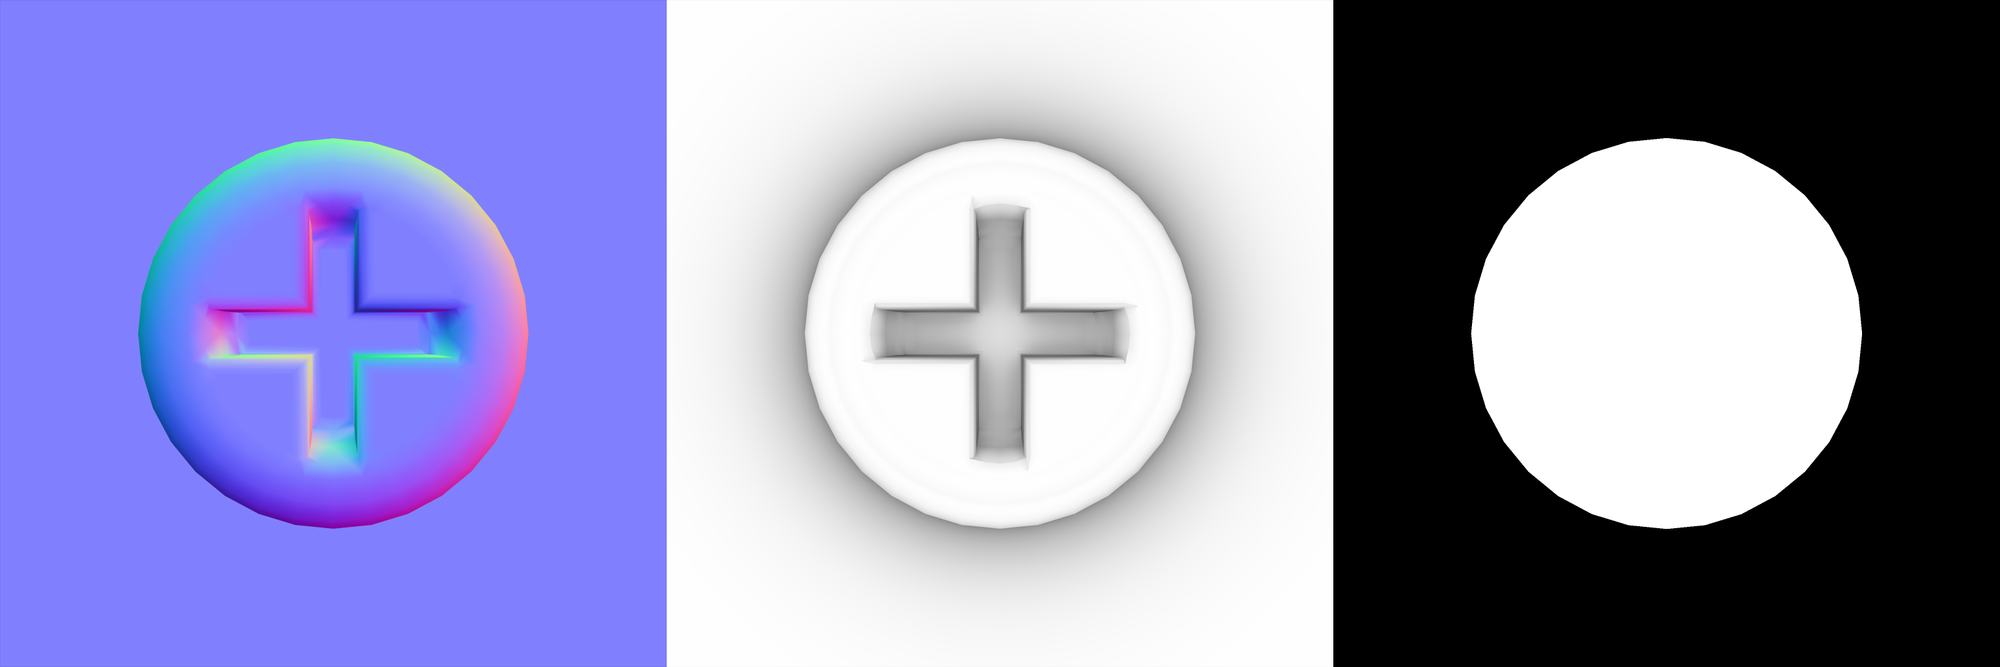
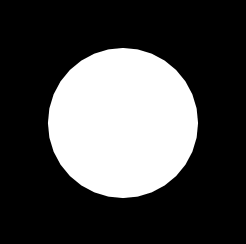
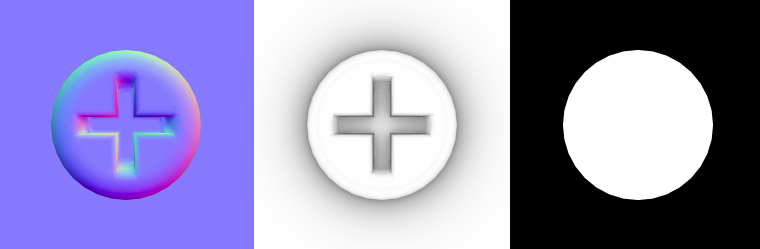
Make a Mask
Ok so we have an Ambient Occlusion Texture and a Normal Map texture.
But a screw is made of metal, and we're going to want to use a metal PBR texture later and mask it to just the screw head so our whole model does not become metal.
So we need a Black and White image for our Mask, the White area will be the screw head where the metal PBR texture will be masked to and the Black area will be the area around the screw head.
Setup Shadeless Black and White Materials
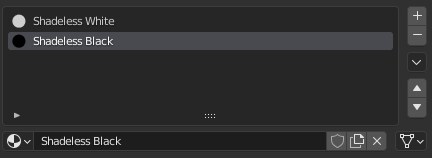
Select our model and create two new materials - Lets name them Shadeless White and Shadeless Black
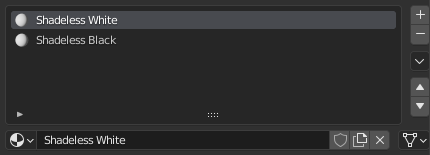
Lets make them both their respective color and Shadeless:
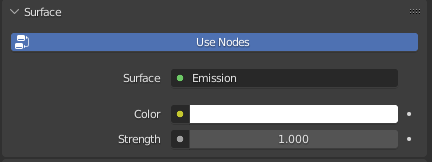
Select Shadeless White, and then change Surface from Principled BSDF to Emission
Set Color to White and Strength to 1
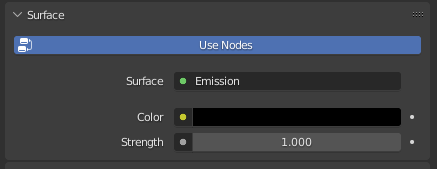
Repeat this process for Shadeless Black, except set our Color to Black
Apply our Materials
Select our Screw Head and Assign it Shadeless White.
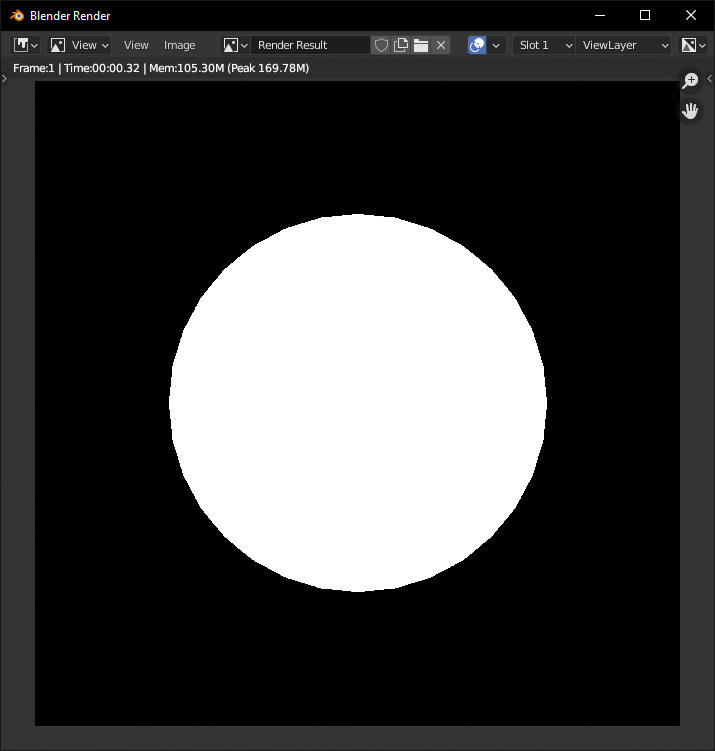
In edit mode, Add a background Plane that covers the whole GrabDoc scene and assign it the Shadeless Black material

Now just Render and Save our Mask like before!
All Done!
Congrats! You've created your first stamp.
What's next?
The next step is applying our stamp to a 3D model which we can later bake down into the models UV map.
We will cover how to apply our stamp wherever we want on a 3D model using the Blender Addon Ravage in the Next Tutorial: