Blender Trimsheet Workflow
Are you a SecondLife creator and want to create hard surface models such as buildings and want to do it all in Blender?
Use this page to learn the same things I have and adopt my workflow, which is all inside Blender, and doesn't involve any subscription software.
This page is a mixture of tutorial and knowledge-base of all the things I've learnt putting together my Blender Workflow.
Learn at your own pace, there's a lot of information on this page. Bookmark it so you can come back later. I will maintain and update information on this page as time goes on and I find even faster workflows!
Terms and Concepts
Make sure you are familiar with all of the following, as they are important for this workflow:-
Texel Density
Resources TODO
Draw Calls
Understanding how Draw Calls work and how and when draw call batching occurs will help you create
Resources TODO
PBR (Physically Based Rendering)
Specifically, the Metal Roughness Workflow.
Resources TODO
Channel Packing and glTF
Channel packing is the concept of using the different channels of a texture (red, green, blue) to store different types of data to save precious video-memory. SecondLife uses channel packing, specifically ORM channel packing.
I maintain and use GLTF-Packer specifically for my SecondLife workflow.
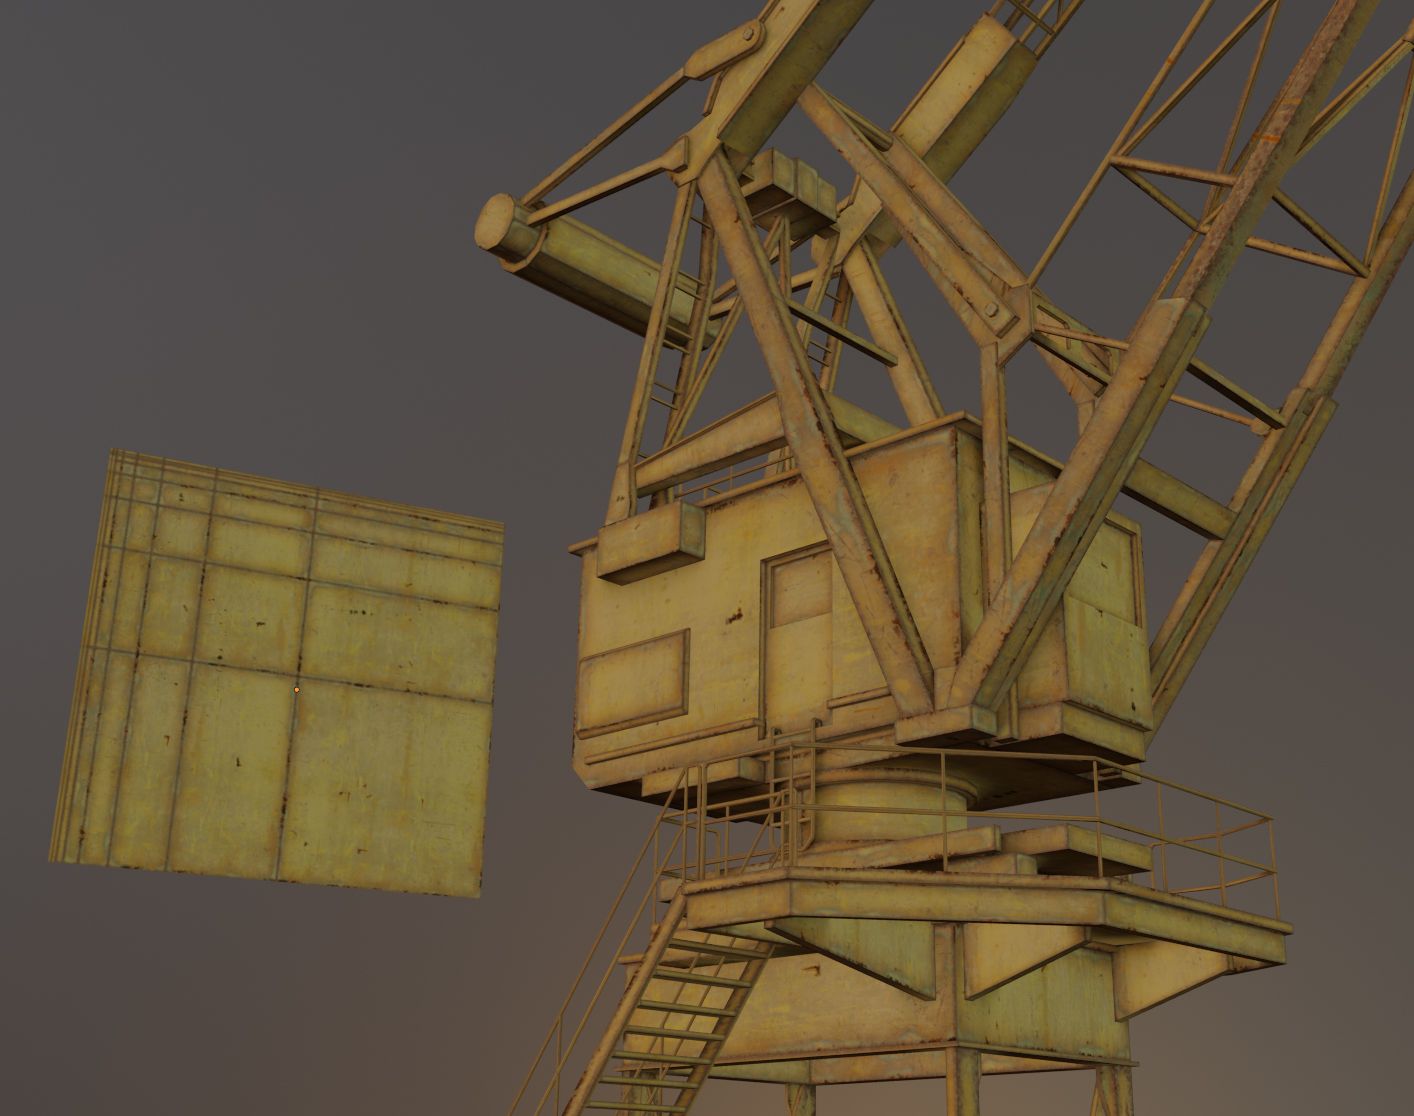
Trim Sheets
Having good trim sheets are key to getting high quality hard surface assets.
I recommend taking the time to have a read of this document, which is an excellent resource for learning about the principles of Trim Sheets.
Hotspots
Here's an example of Hotspotting in Source Engine (Couldn't find a good video example in Blender - But this is the same concept).
The video shows how a trim sheet is automatically applied to the selected faces based on the size of the faces and the texel density.
We can do the same in Blender, but we need the free addon DreamUV to do this. I recommend taking the time to learn how to use the HotSpot feature of DreamUV as it will save a lot of time in the long run.
Installation
Open their page using the link above. Find the 'Code' drop down (Green button) - Choose 'Download as Zip' and then you can install the Addon from the Preferences menu in Blender.
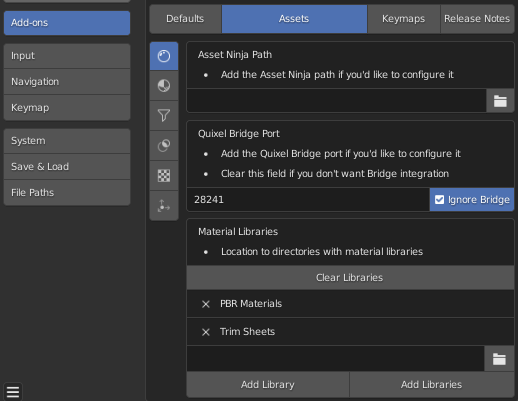
Maintaining a PBR and Trimsheet Library
When world building, it's important to have consistent appearance of the world.
You should maintain a common library of trim sheets and PBR Textures.
Maintain two distinct folders on your computer, that act as common libraries for your textures. These folders will be used by a plugin.
Trimsheets
This folder will contain folders of trimsheets you have designed. You should also save the Blend file in each folder, so you can update the trimsheets as necessary and also append the hotspot mesh used by DreamUV from the blend file into your 3D model blend.
Models should mostly use trim sheets and not PBR textures directly, so that our models can have details such as edge-wear, bevel normals, etc.PBR Materials
This folder will contain the raw PBR materials downloaded from PBR Websites used to aid in creating trim sheets.
Models should only really use raw PBR Textures directly where a user might expect customizability such as interior walls etc - Otherwise it's better to use a trim sheet as we can get more control over details that way.
PBR Websites
Use PBR Websites to find and download PBR Materials. These PBR Materials will be used to make Trim Sheets.
Here are some examples of websites I know of that provide free, high quality PBR Textures

 Katsukagi
There are many more out there, and also paid options too. It's also possible to create your own PBR Materials, but that's not a topic I will cover here.
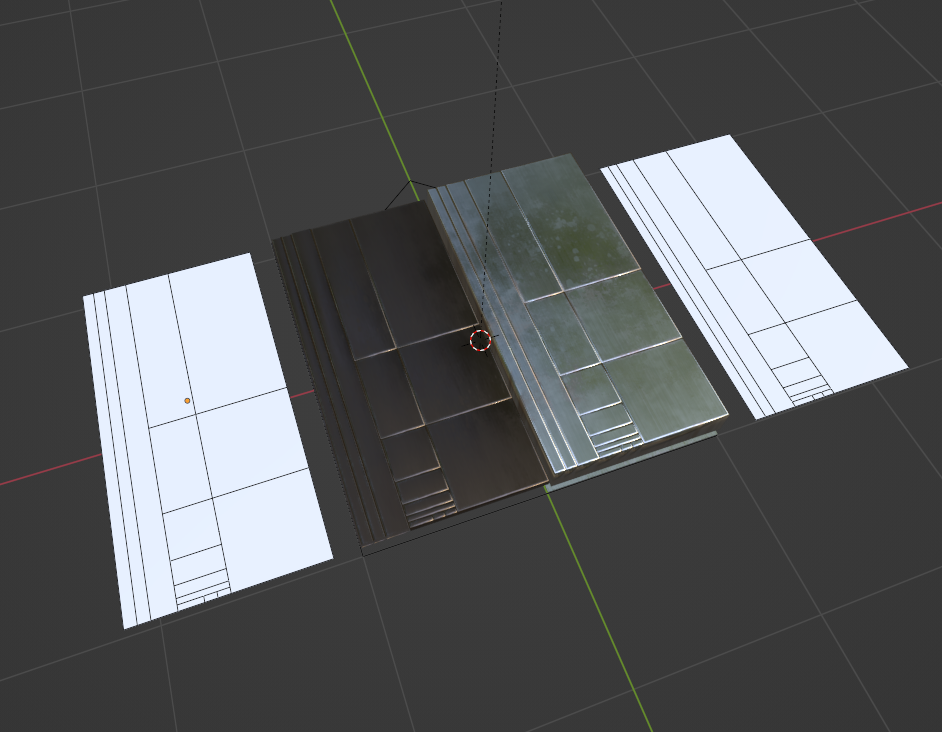
Making Trim Sheets
I generally design my trim sheets in a seperate copy of Blender to my models, and save a blend file per trim sheet so that I can later modify or add details to a trim sheet in my library as necessary.
Colorspace
Make sure your Colorspace is correct, otherwise there will be large differences between what you see in Blender, vs what you see in-world.
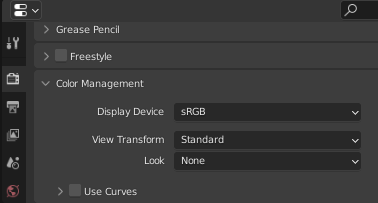
Make sure Display Device is sRGB and View Transform is Standard.
When setting up a Material in Ravage or shader editor, Colorspace of textures should be sRGB for Albedo and Emission, and Non-Color for other textures like Normal Map, Metalness, Roughness etc.
Addons
I use the following addons to make my life easier, and recommend you take the time to learn them when you find time:-
Ravage
Ravage (Lite Free, Pro $39) - I use Ravage for designing the trim sheet materials, adding edge wear, grunge and other details, I find Ravage more intuitive than Blender's shader editor.
The layer based workflow, and tools specifically for doing effects like edge wear make Ravage indispensible for me and replaced Substance painter, a subscription software, saving me lots of money.
You can still use nodes when you need them in Ravage, for example I use nodes sometimes to add a Warble effect.
GrabDoc
GrabDoc (Free) - I use this addon to bake my trimsheets. It sets up the camera, and has checkboxes to bake all of the necessary passes including occlusion, roughness, metallic, albedo etc.
Some limitations and my workarounds:-
GrabDoc can't bake emission. Fear not, even in those cases, with the GrabDoc camera set up, you can go to the render passes menu and choose the emission pass, and hit render, you will be able to save the specific pass from the render window by selecting it in the top right.
GrabDoc's Occlusion Bake does not include occlusion within the material itself. My workaround for this is to use Ravage's Master Channel Preview feature to preview the Occlusion channel of our material, and render that as color pass. This can then be combined with AO pass from GrabDoc in an image editor.
Applying Trim Sheets to Models
Have your Trimsheet library set up as a Material Library in Ravage. This makes it easy to quickly setup Trimsheets on objects in Blender.
Make sure the mapping when material is applied to the object is set to 'UV' rather than 'Object'.
DreamUV
Once the Trimsheet is applied, it's time to UV unwrap the object.
- Append the hotspot mesh you made when creating your trimsheet. Scale the hotspot mesh in edit mode so that the faces roughly are the right texel size.
- Choose the Hotspot mesh in the DreamUV UI. Then with the faces you want to hotspot on your mesh selected, hit hotspot.
The model is now hotspotted. Congrats!
Getting Materials into SecondLife
The best way to get materials into SecondLife currently is to use the glTF uploader because it does not compress your normal maps and cause ugly artifacts.
To do this you will need to produce a glTF file from your trim sheets. I developed a small program to do this, glTF Packer which I find faster than using Blender.
Then simply upload the packed GLTF file using Build > Upload > Material. You can drag the Materials onto your model in-world.